カスタマイズ、その前に・・・
カスタマイズする際に、変更前の数値をコメント化、/* 変更前の数値 */しておくことをお勧めします。こうすることで、簡単に元に戻すことができますし、また自分が、何処を編集したかが後で見返した時に一目瞭然です。
記事タイトルのカスタマイズ
cssファイルの/* Singular content styles for Posts and Pages */ 1215行あたり ※僕の場合を検索。で、下の方にいる
.singular .entry-titleを編集します。
.singular .entry-title {
/*変更前
	color: #38364f;
	font-size: 23px;
	font-weight: bold;
	line-height: 1.625;
変更前*/
	color: #E67168;
	font-size: 23px;
	font-weight: bold;
	line-height: 1.5em;
}
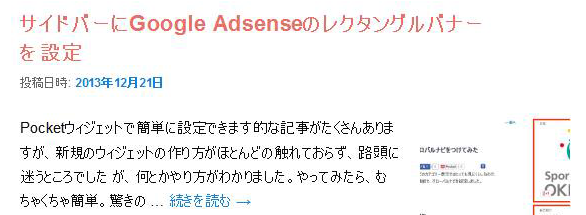
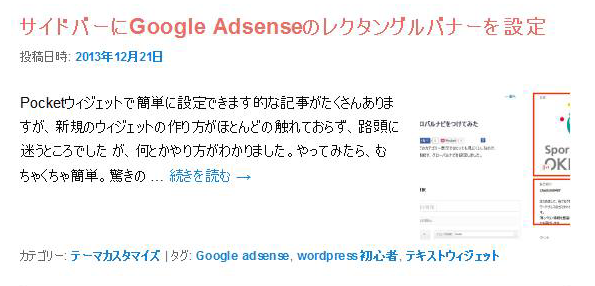
サマリーページの記事タイトルを変更
CSSファイルの/* =Content */ 745行あたり ※僕の場合
を検索。で、.entry-titleを編集します。
/*ここからサマリーページのタイトルだよん*/
.entry-title,
.entry-header .entry-meta {
	padding-right: 76px;
}
.entry-title {
/*変更前
	clear: both;
	color: #E67168;
	font-size: 20px;
	font-weight: bold;
	line-height: 1.5em;
	padding-bottom: .3em;
	padding-top: 15px;
変更前*/
	clear: both;
	color: #E67168;
	font-size: 22px;
	font-weight: bold;
	line-height: 1.3em;
	padding-bottom: .3em;
	padding-top: 10px;
	width: 550px;
}
h1、h2、h3を変更
CSSファイルの/* =Content */ 745行あたり サマリーページの記事タイトルと一緒です。
その.entry-content h1/h2/h3を編集します。
h1表記の変更
h2表記の変更
/*ここから投稿記事内のhタグのCSSだよん*/
.entry-content h1,
.comment-content h1 {
/*変更前
font-size: 1em;
color: #474c99;
font-weight: bold;
margin: 0 0 .4em;
border-left: 5px solid #474c99;
padding-left: 1em;
line-height: 2.6em;
変更前*/
font-size: 1.2em;
color:#ED1C24;
font-weight: bold;
margin: 0 0 1em;
border-left: 3px solid #ED1C24;
border-bottom: 1px dotted #7A7B7D;
padding-left: 1em;
line-height: 2em;
}

.entry-content h2,
.comment-content h2 {
/*変更前
	color: #000;
	font-weight: bold;
	margin: 0 0 .8125em;
変更前*/
	font-size: 1em;
	color: #EA5C5C;
	font-weight: bold;
	margin: 0 0 .2em;
	line-height: 0.5em;

}

.entry-content h3,
.comment-content h3 {
/*変更前
	font-size: 10px;
	letter-spacing: 0.1em;
	line-height: 2.6em;
	text-transform: uppercase;
変更前*/
	font-size: .8em;
	color: #7FBCAD;
	font-weight: bold;
	margin: 0em;
	line-height: 0.4em;
}


